Settings
Your business details, weekly and daily targets, currency and date formats, themes, and where your data is kept.
On this page
At a glance
- Settings is a list of categories on the left, each with its own page.
- Your business details are only needed for invoices.
- Set a weekly target and the length of your working day.
- Formats come from your Windows settings; change them if you like.
- Pick one of five colour themes.
Settings is where you tell TimeTracker about your business and how you like things shown. You don’t need to change anything to start tracking time.
Other parts of Settings have their own pages: Backups, Licence and Logs.
Find your way around Settings
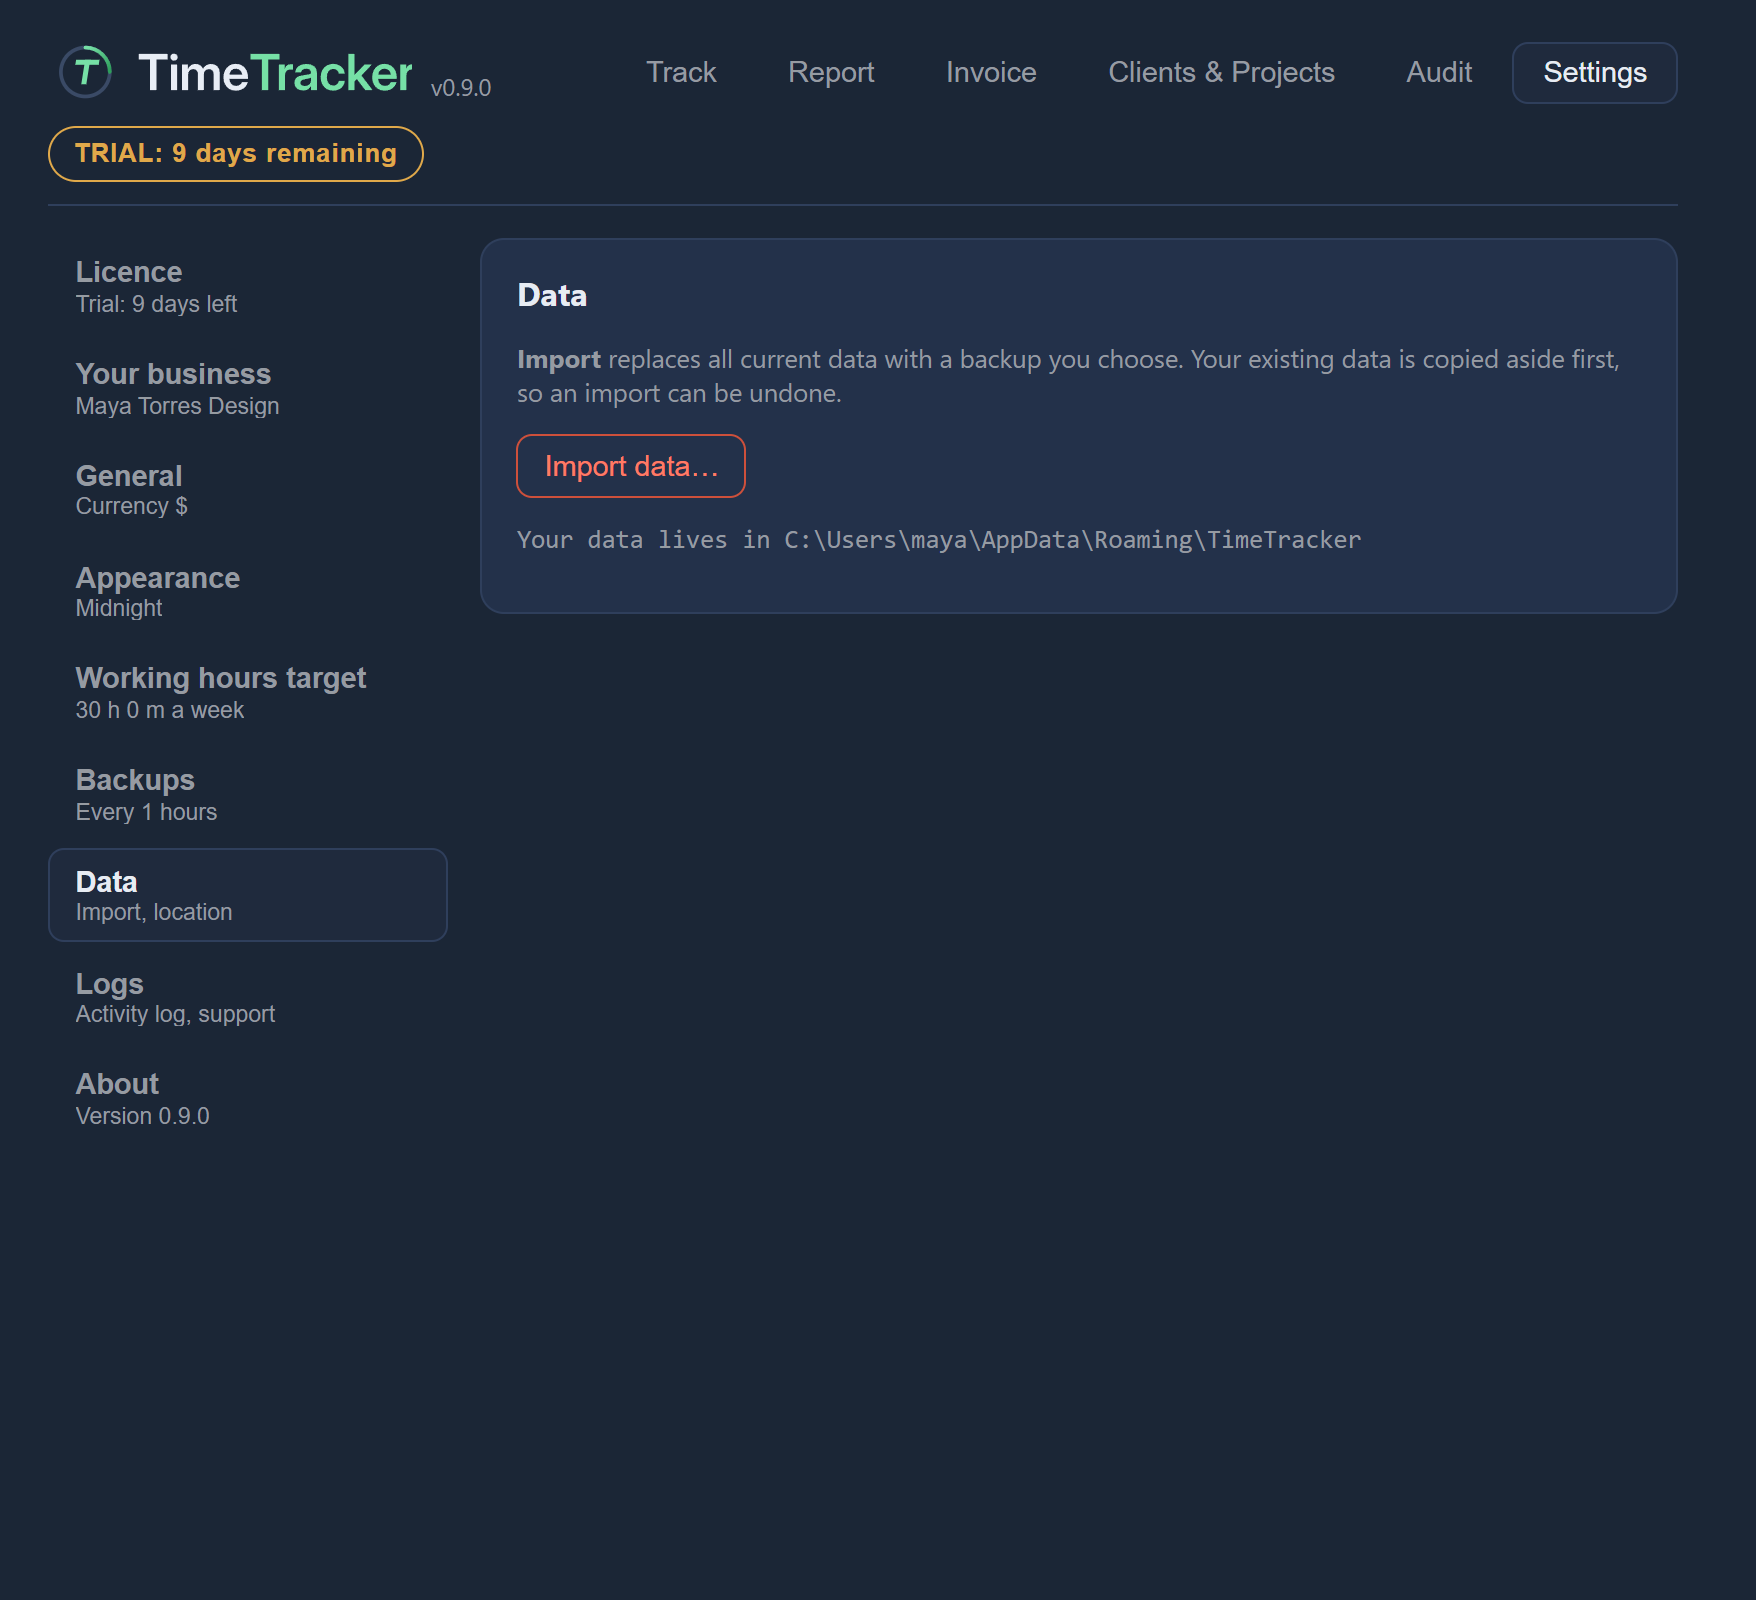
Settings has a list of categories on the left. Click one to show its page on the right. The line under each category’s name sums up its current state, so you can see at a glance, for example, whether backups are set up.
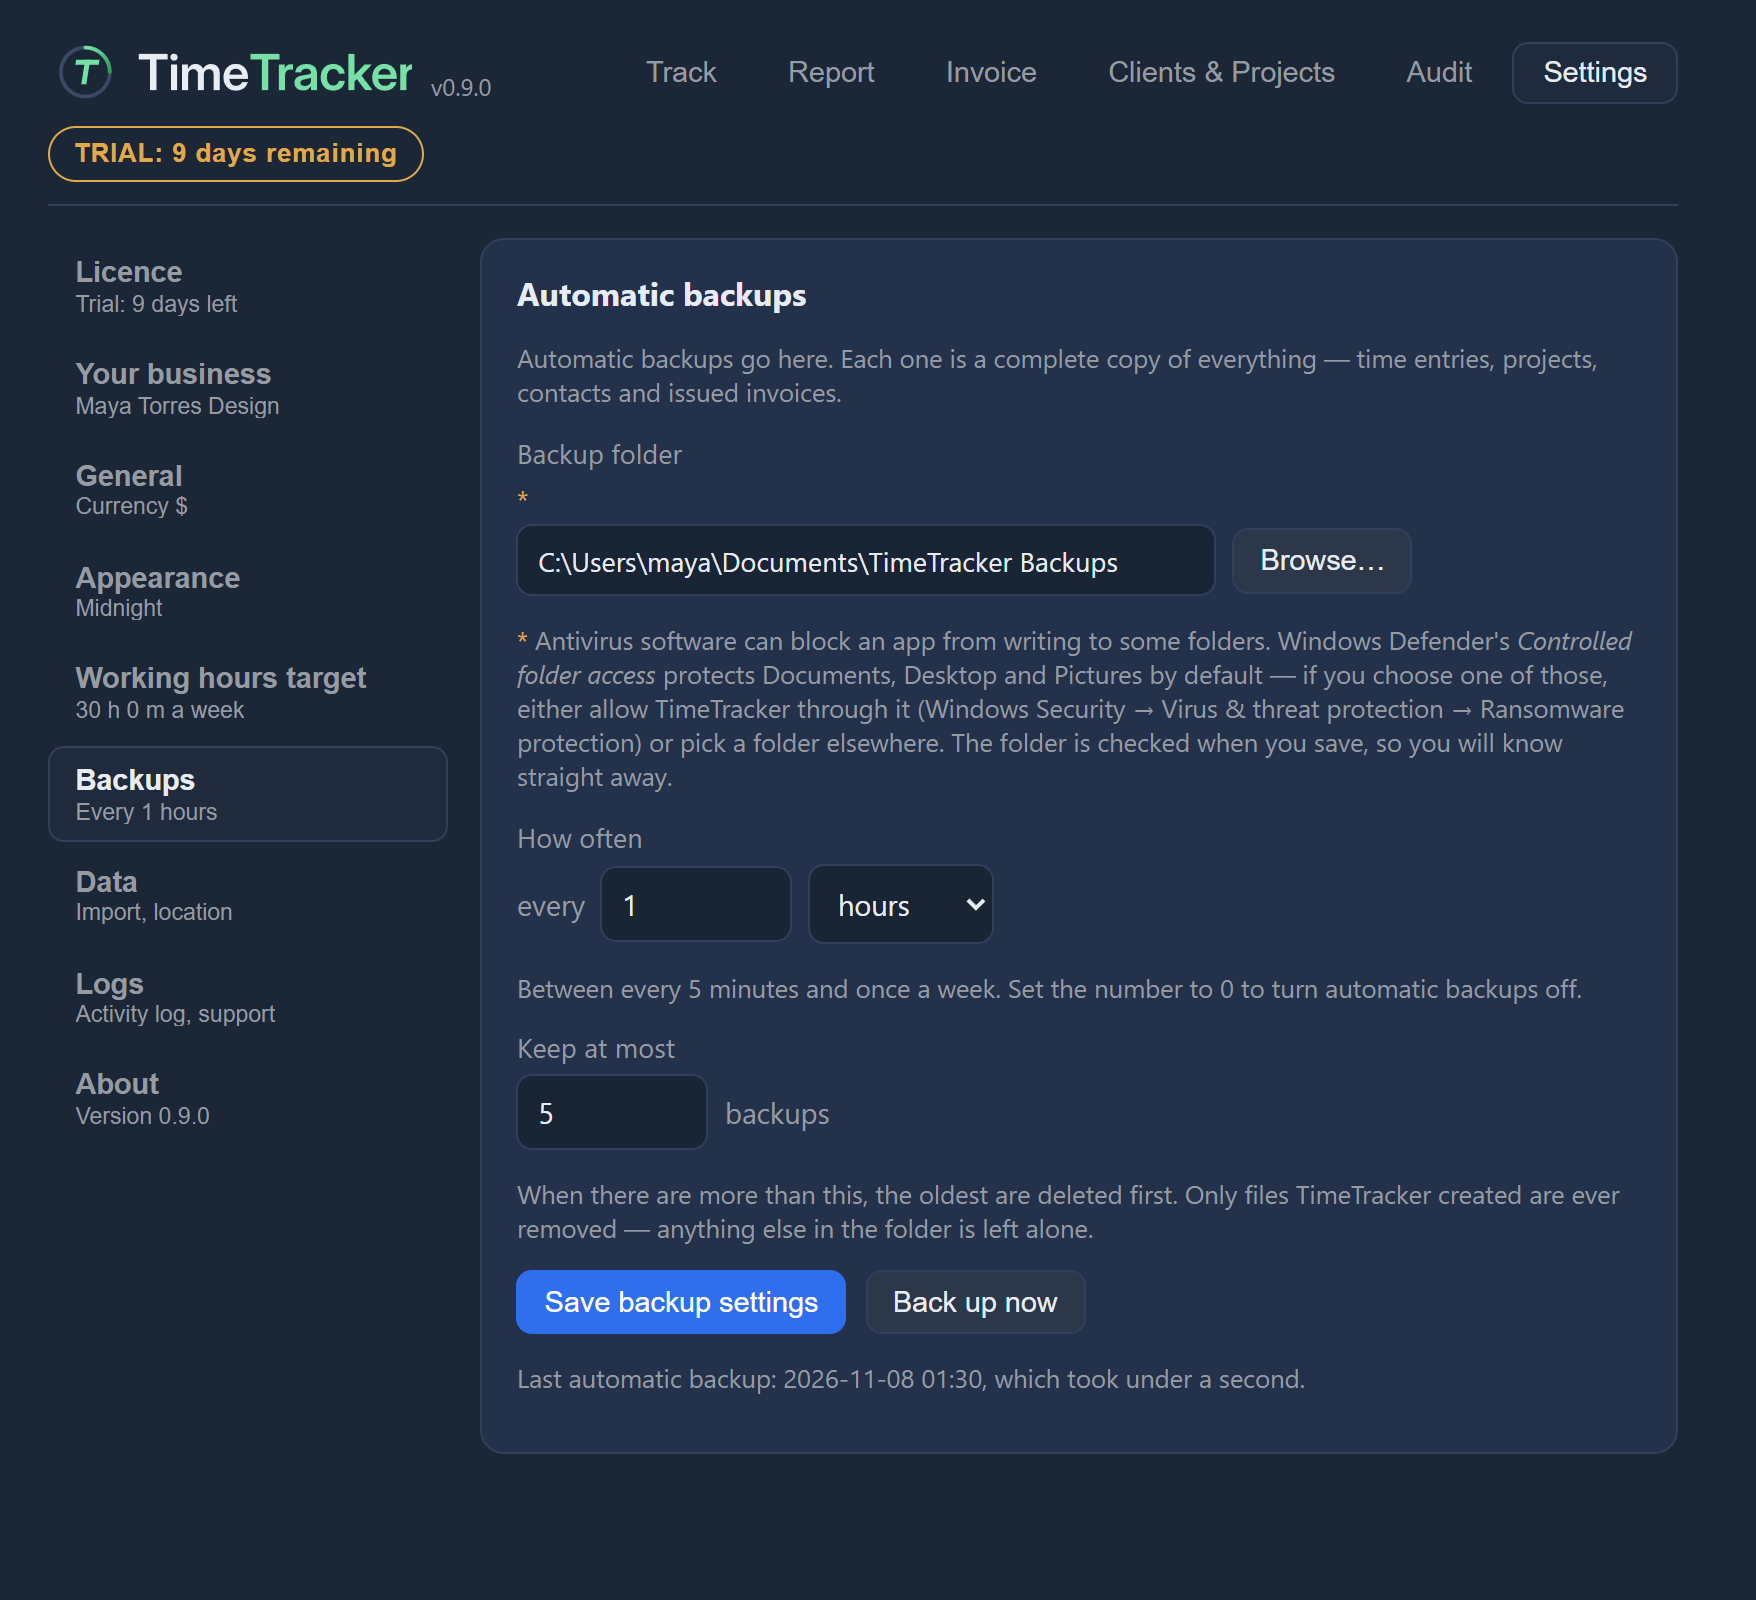
The categories, in order:
| Category | What it holds |
|---|---|
| Licence | Your trial or licence. See Trial and licence. |
| Your business | The details on your invoices (below). |
| General | Currency, date and clock formats (below). |
| Appearance | The theme (below). |
| Working hours target | Your weekly and daily targets (below). |
| Backups | Automatic backups. See Backups and restore. |
| Data | Where your data is, and importing a backup (below). |
| Logs | The activity log and sending a report to support. See Troubleshooting. |
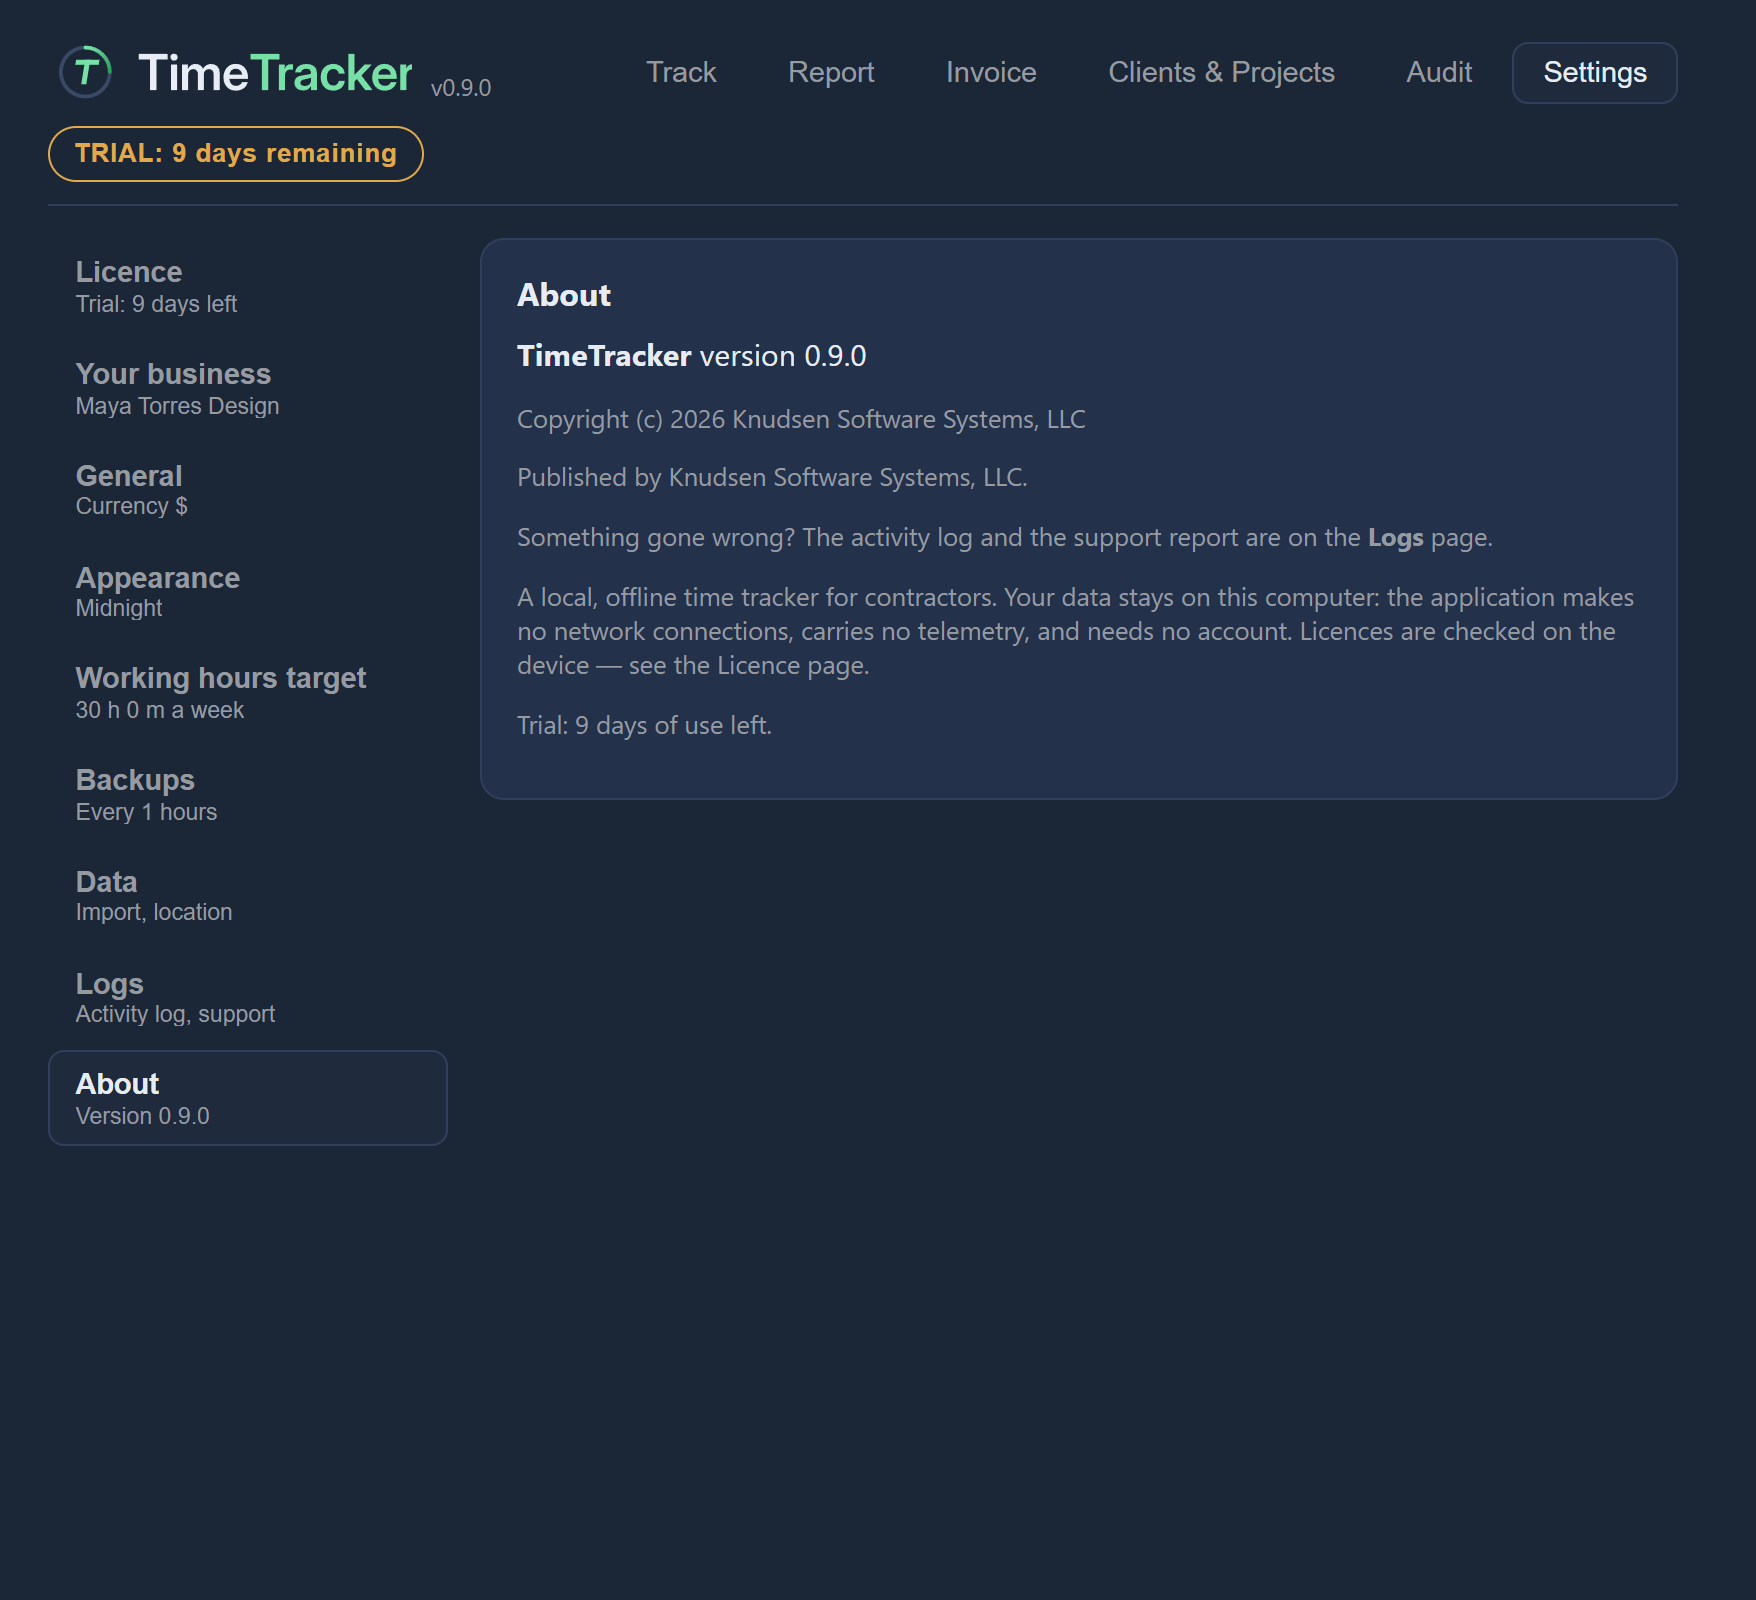
| About | Information about TimeTracker. |
Set up your business
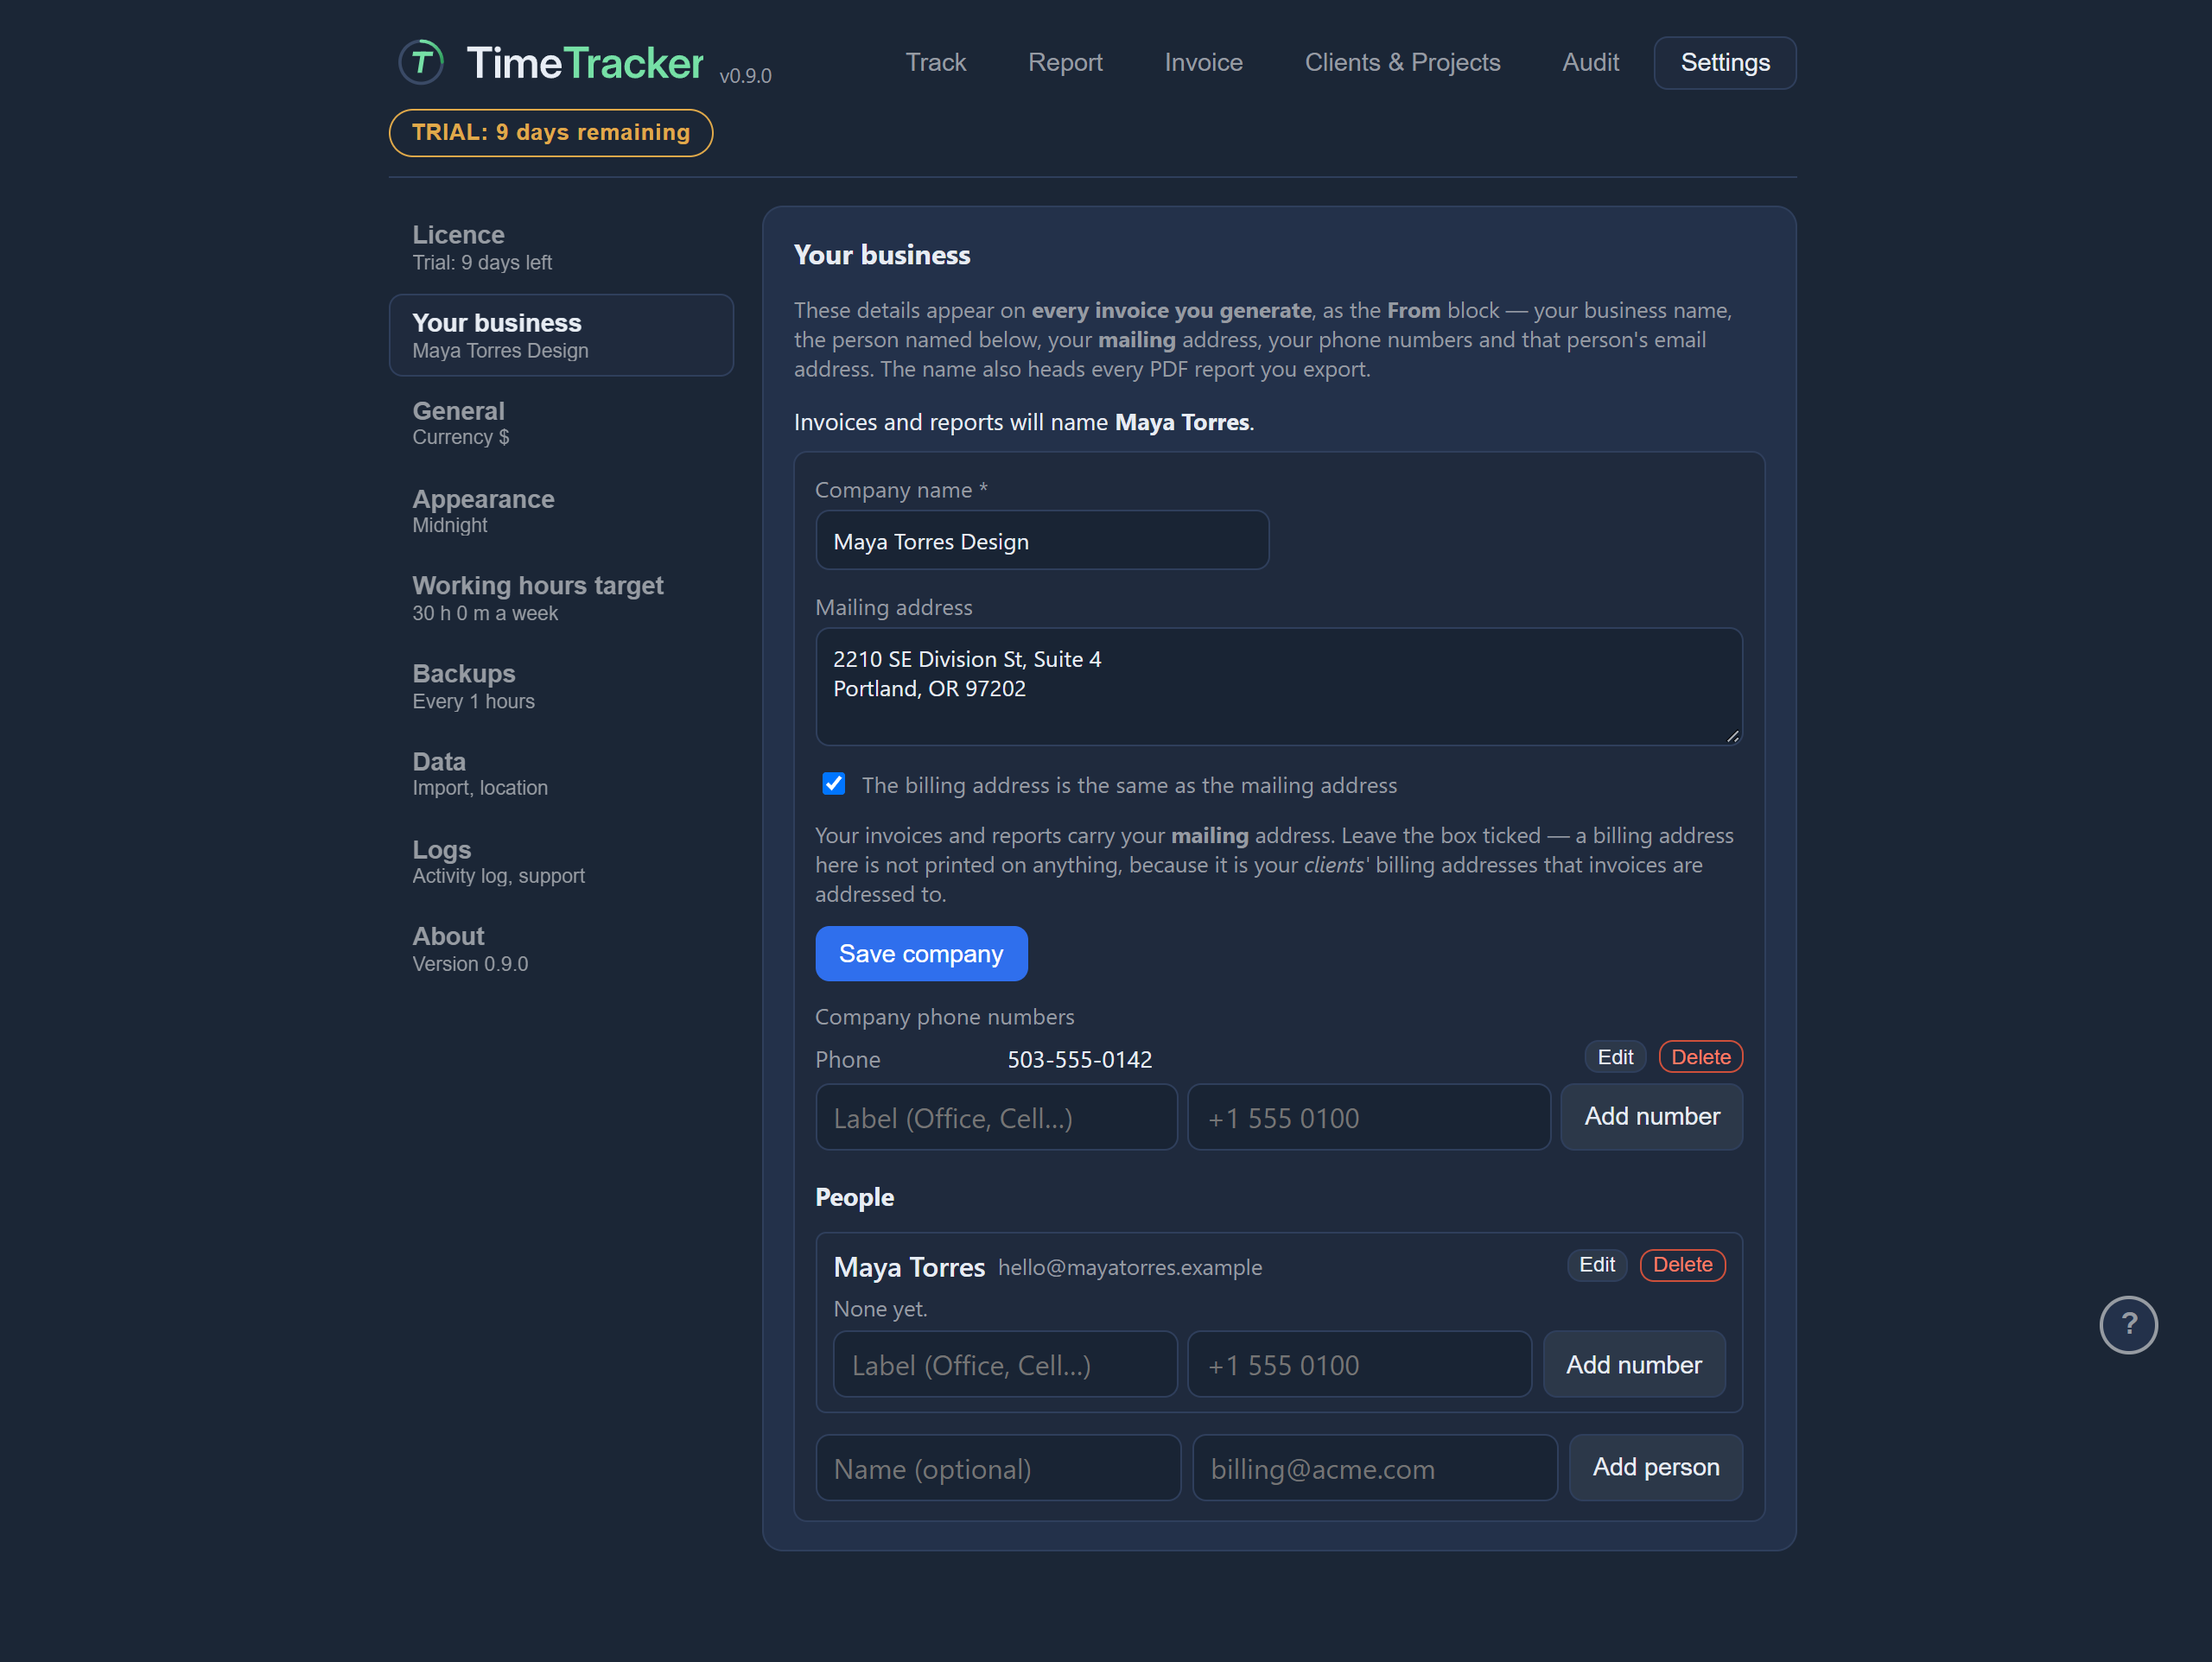
Your business details become the “From” block on your invoices. You only need them if you make invoices.
- Open Settings → Your business.
- Type your business name and create it. The name is printed as the sender on every invoice.
- Add your mailing address and press Save. Your invoices’ “From” block uses this address.
- If you like, add phone numbers and people, each with their own buttons.
Set your weekly and daily targets
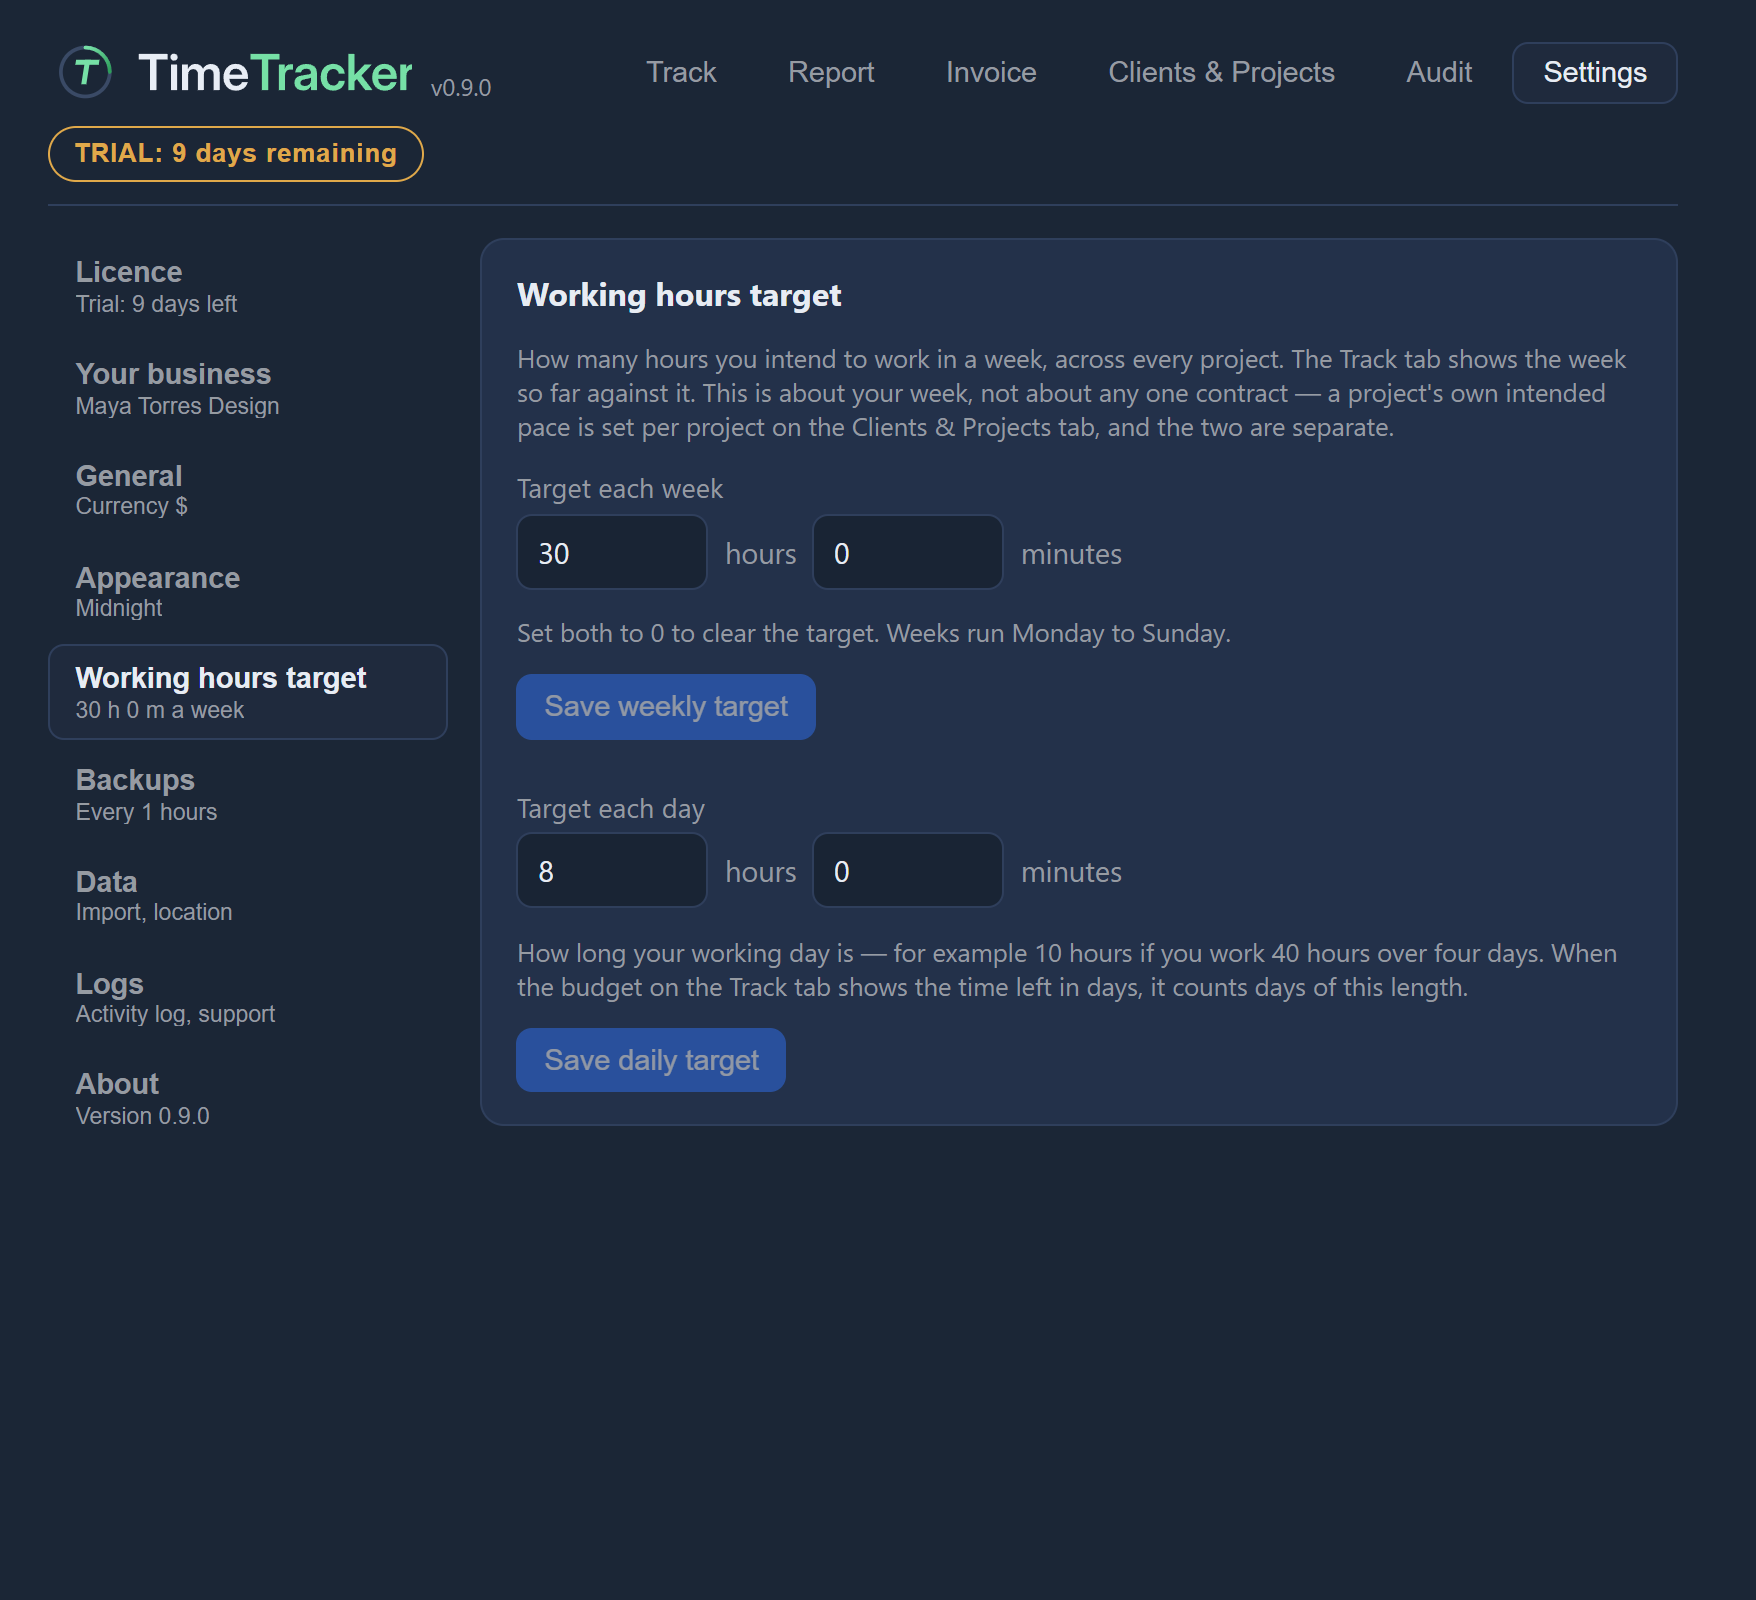
Both targets are in Settings → Working hours target.
Weekly target
How many hours you intend to work each week, across every project. The Track tab shows the week so far against it. Weeks run Monday to Sunday. See This week’s total.
- Enter the hours and minutes.
- Press Save weekly target.
Daily target
How long your working day is. When a project’s budget on the Track tab shows the time left in working days, it counts days of this length. See Time left in hours or working days.
- Enter the length of your working day.
- Press Save daily target.
A day must be at least one minute and no more than 24 hours. Save daily target is greyed out until you change the value.
Set currency, dates and clock
In Settings → General you can set how money, dates and times are written.
- the currency symbol, such as $ or €
- whether the symbol goes before or after the amount
- the decimal mark: a point or a comma
- the thousands separator: a comma, a point, a space, or nothing
- the date format, with an example of each so you can see exactly how a date will look
- a 12-hour or 24-hour clock
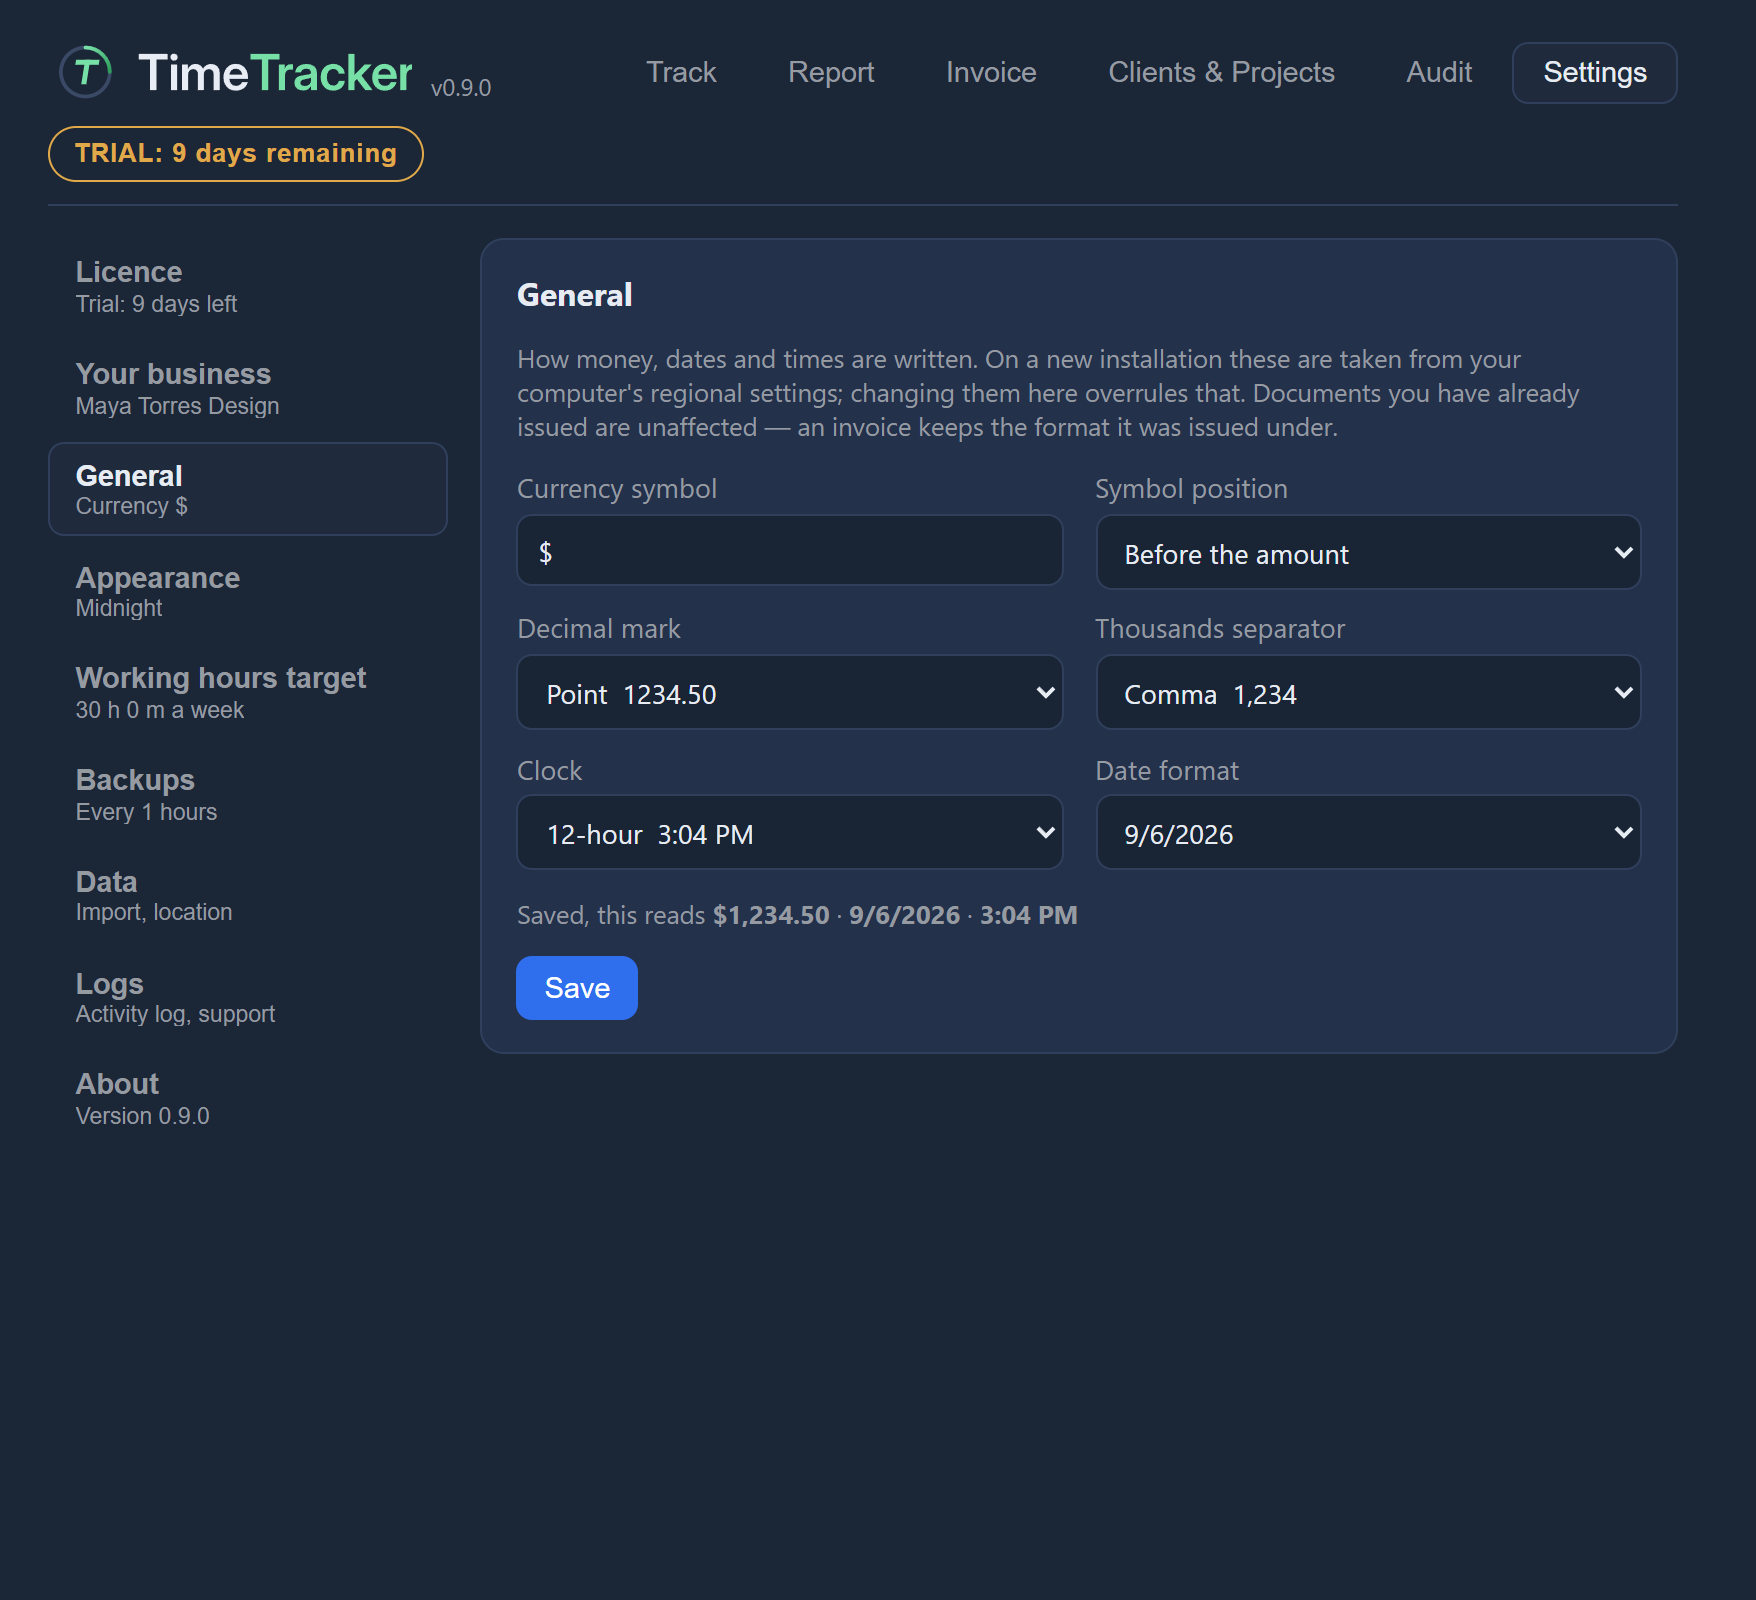
Press Save at the bottom of the panel when you’re done.
The first time TimeTracker runs on Windows, it fills these in from your computer’s regional settings, so you may not need to change anything.
Choose a theme
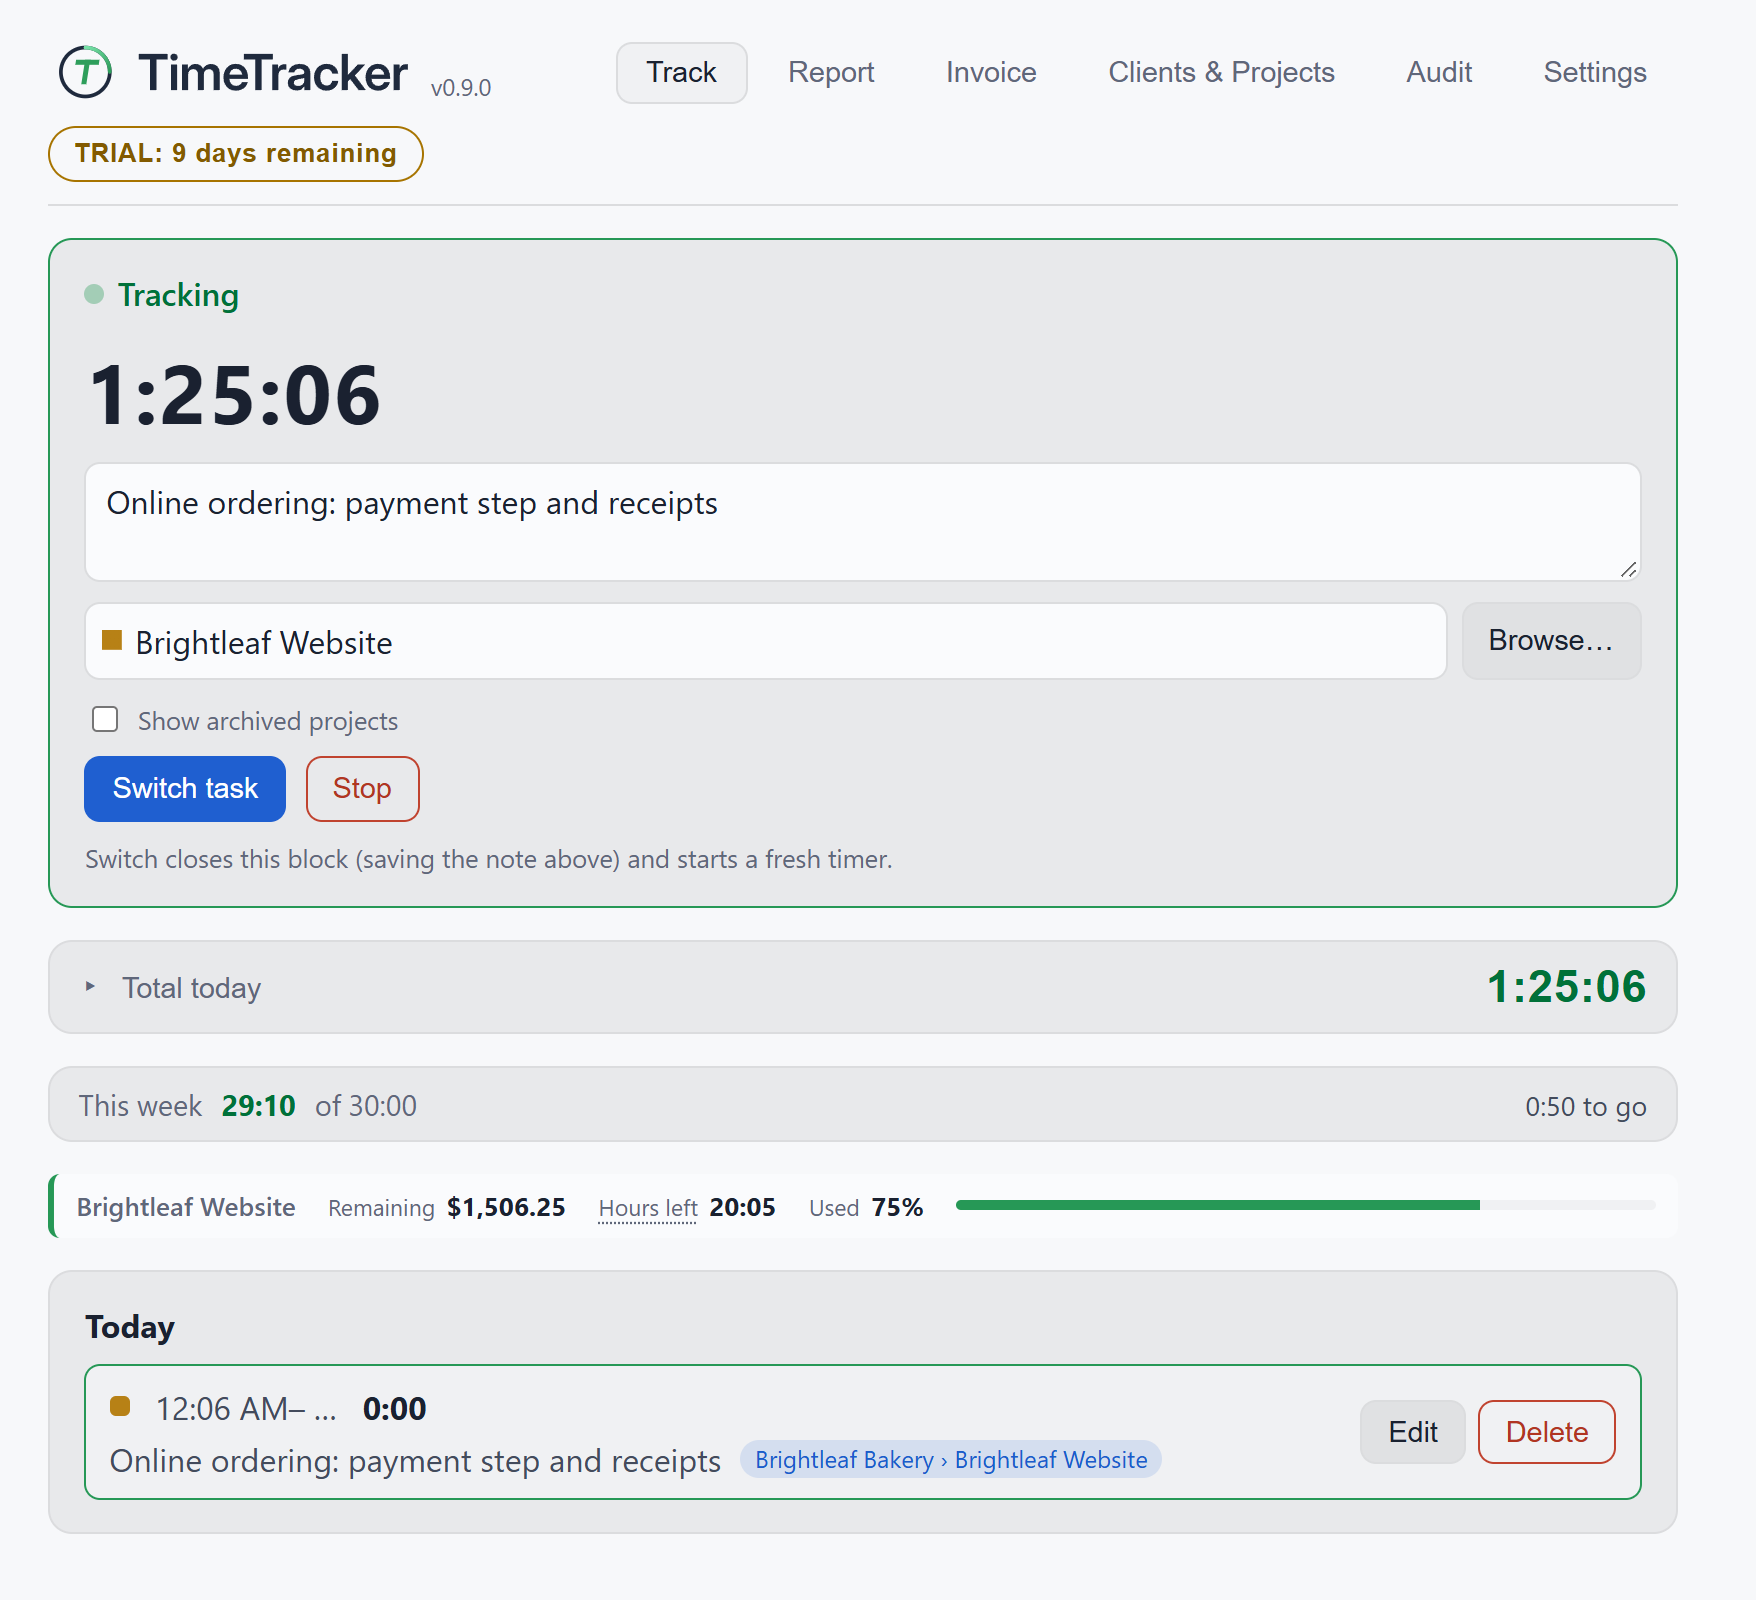
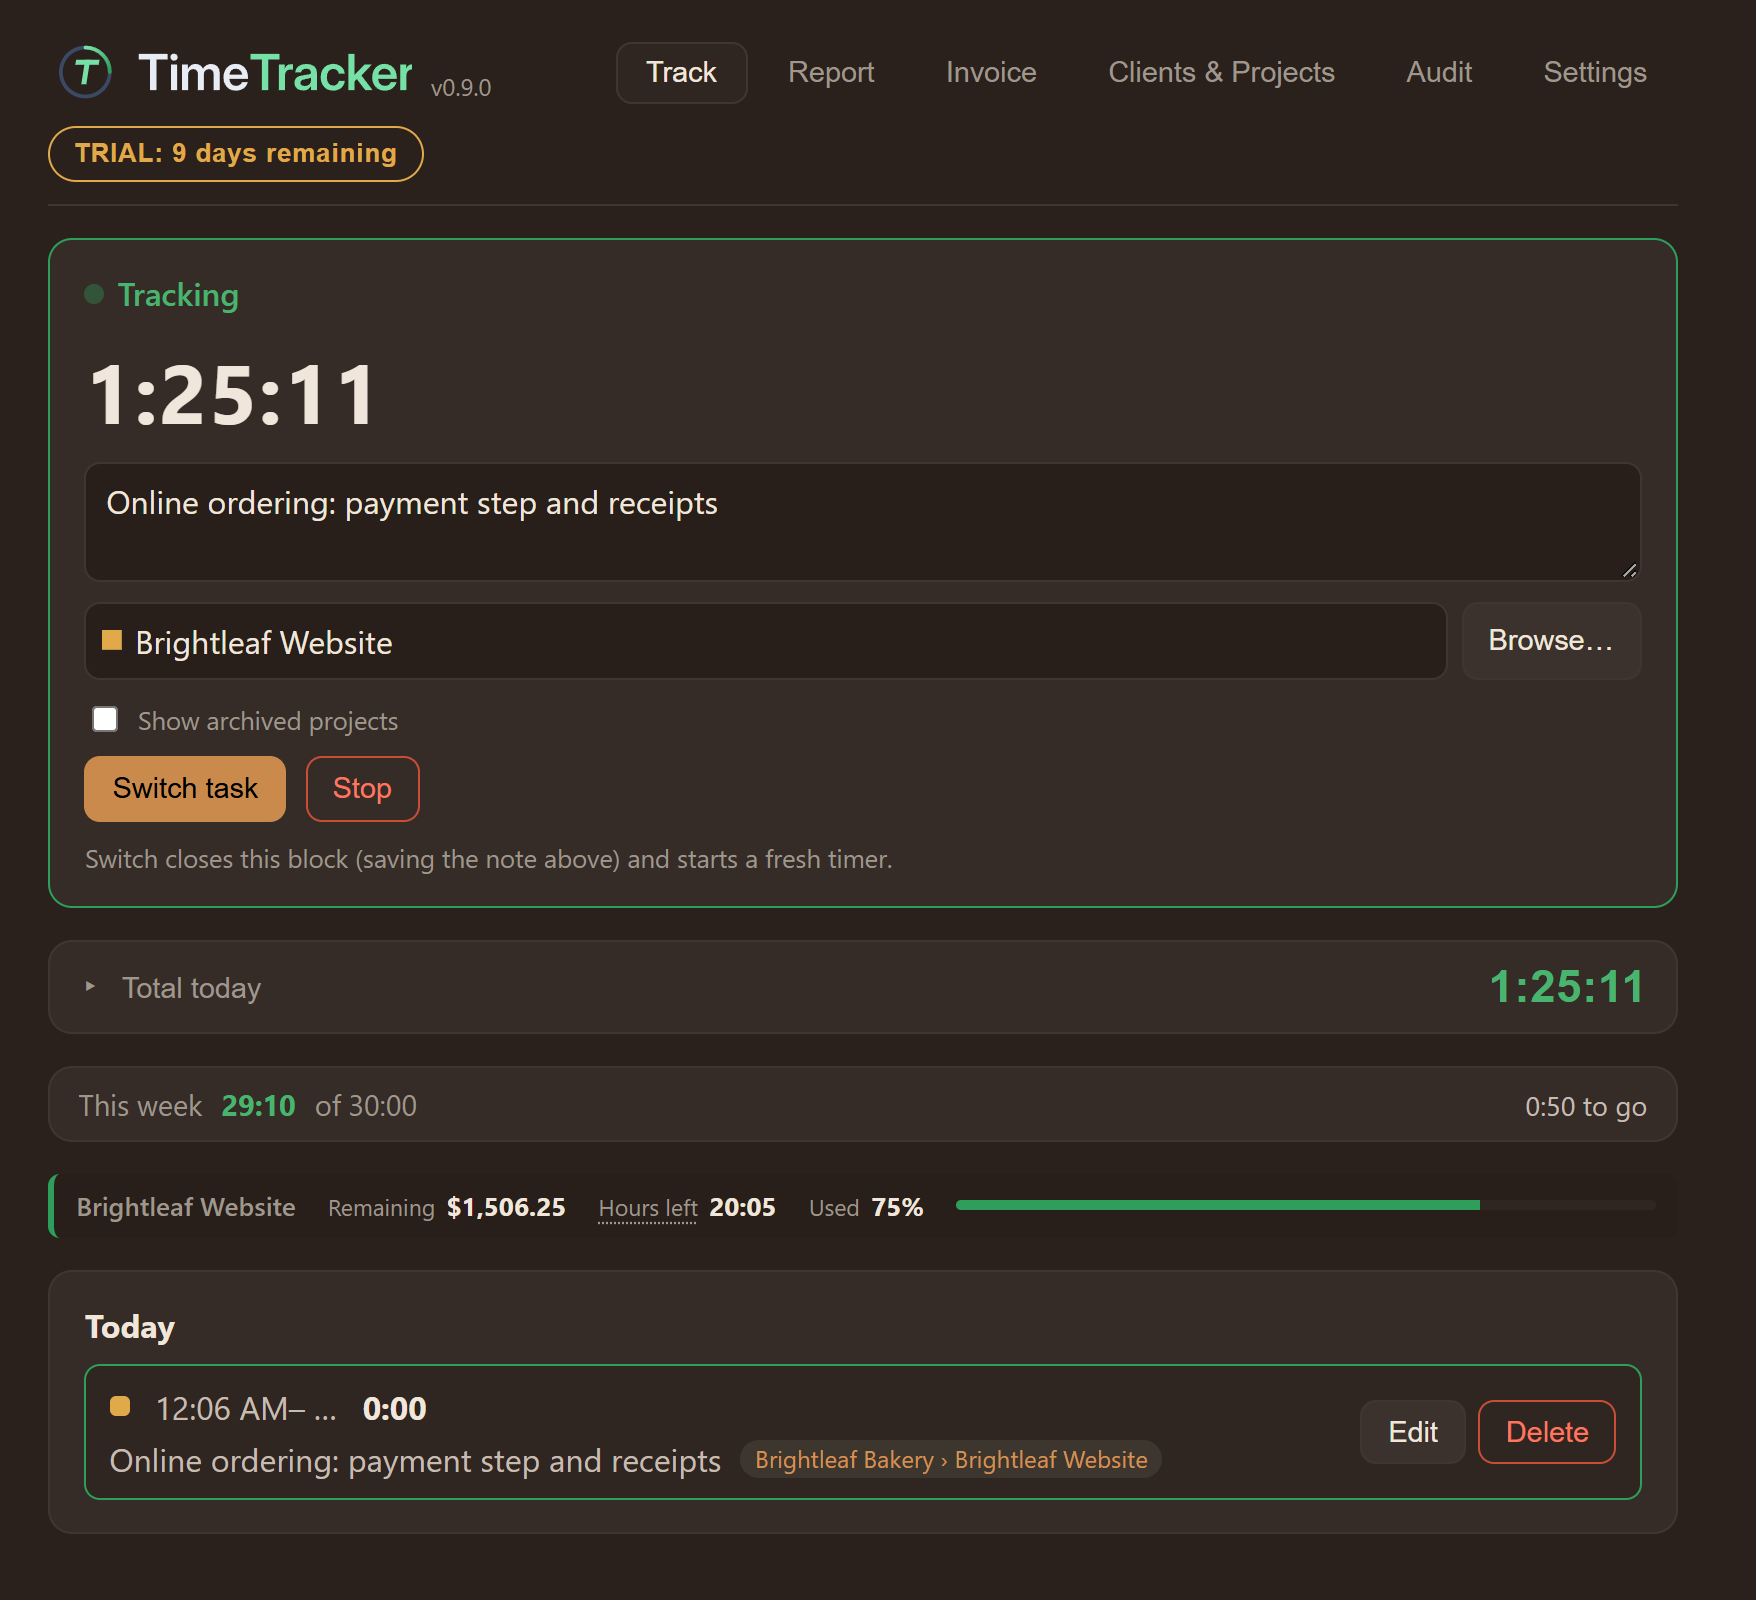
TimeTracker has five colour themes:
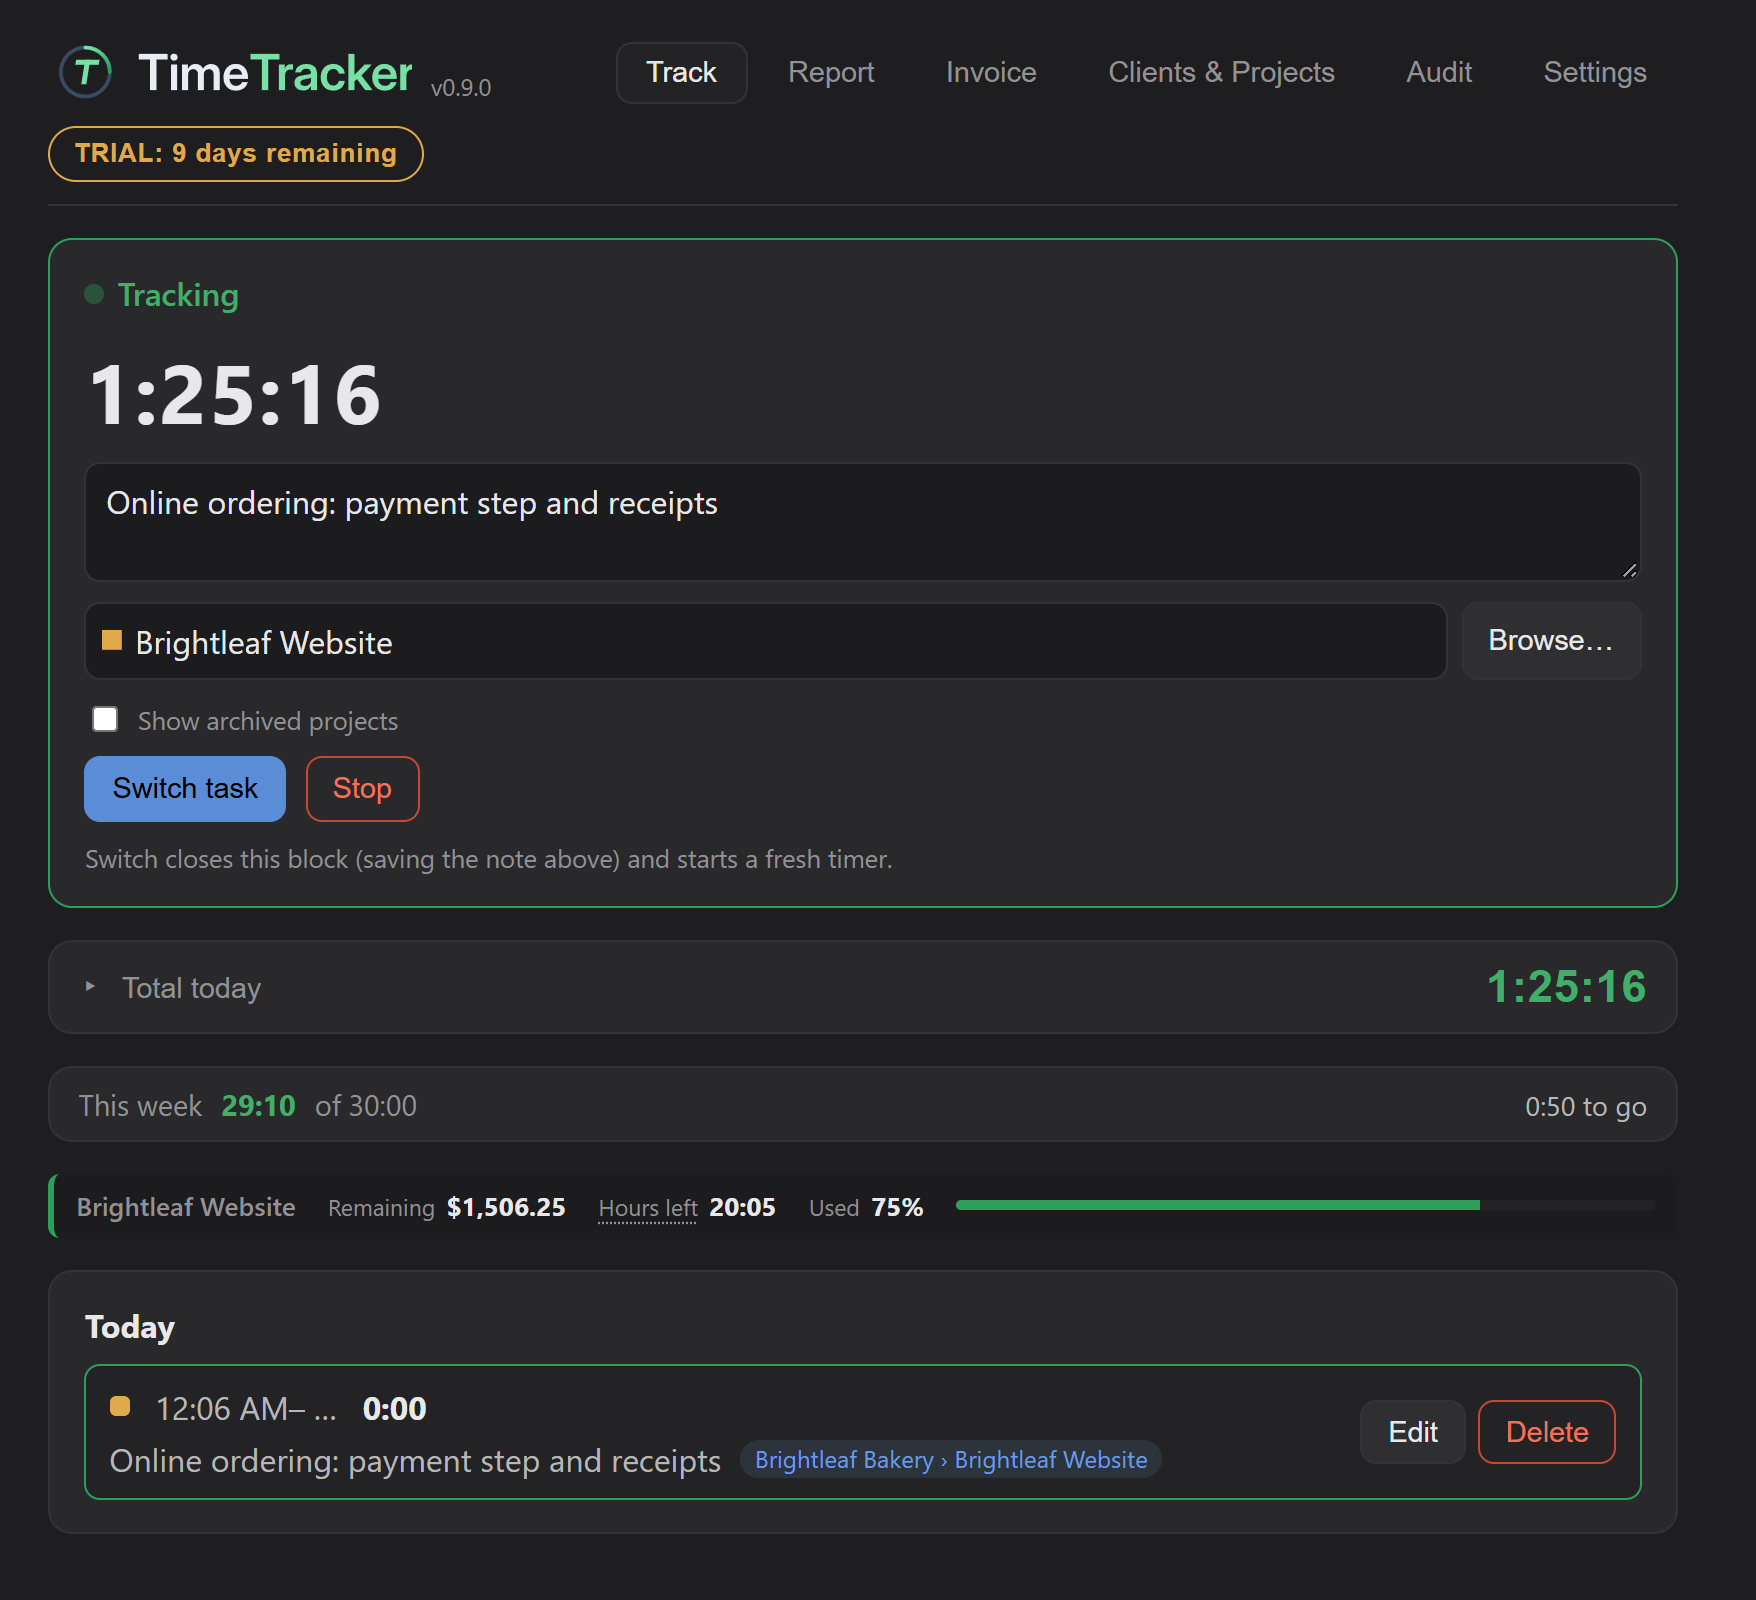
- Midnight, dark (the default)
- Light
- Mocha
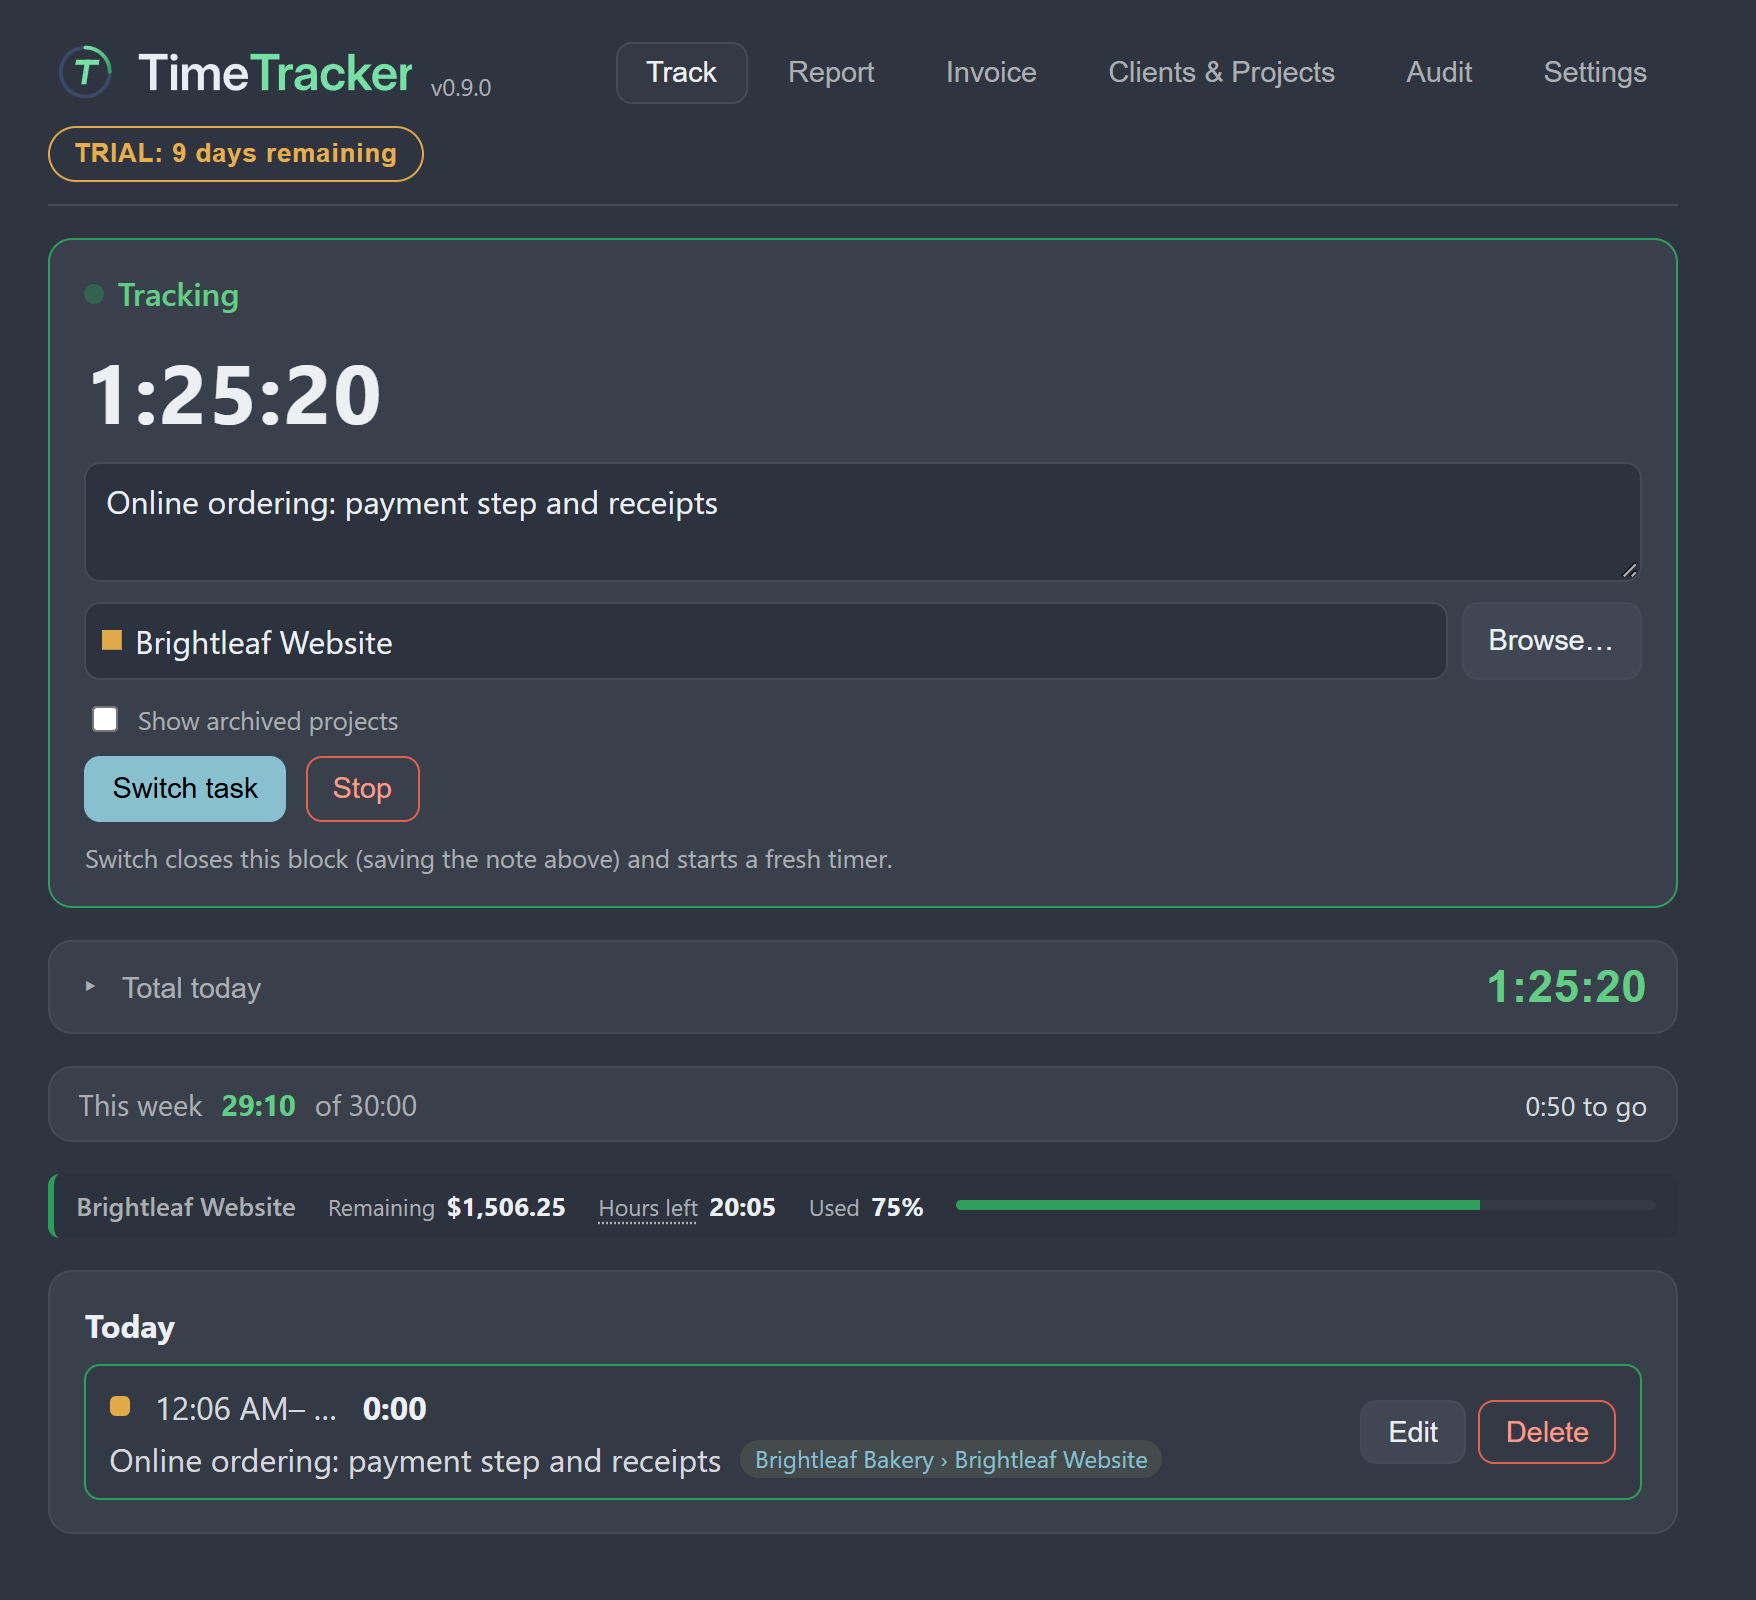
- Slate
- Nord
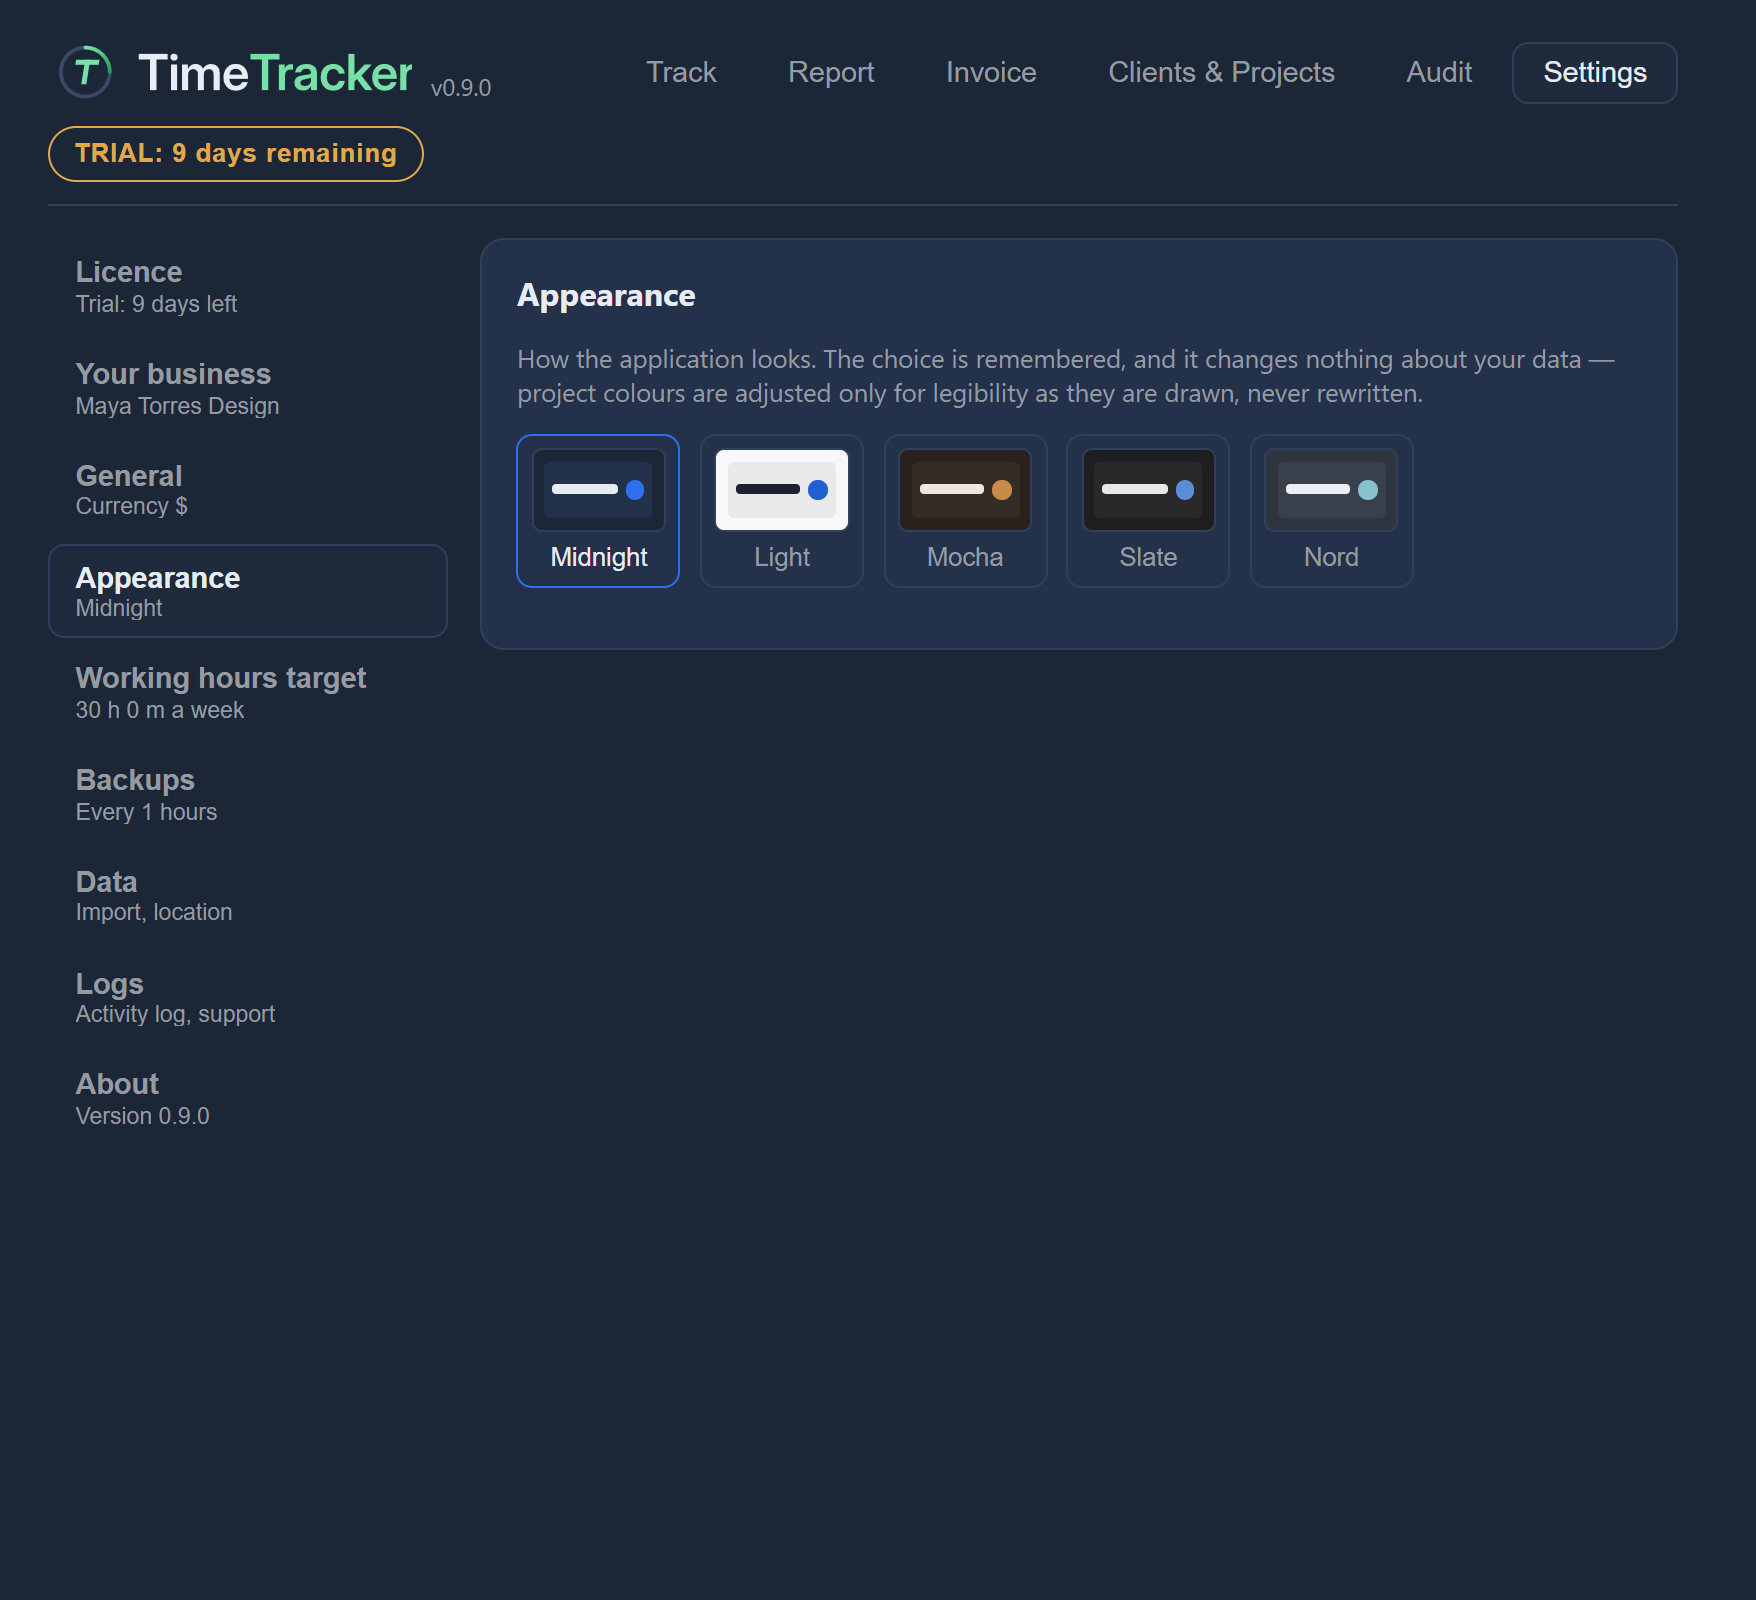
Open Settings → Appearance and click a theme to switch to it. TimeTracker remembers your choice.
Find where your data is
Settings → Data shows exactly where your data file is kept (“Your data lives in …”). This is also where you import a backup.
See Your data and privacy and Backups and restore.